This guide will go over setting up a phishing Campaign with GoPhish.
Organizations handle the scope of phishing differently. Some may already inform their IT department while others won’t. Some may strictly prohibit social engineering by any means. Do not assume it is allowed because you got permission to perform a pen test. It is up to you to make sure your expectations and scope are clearly outlined beforehand.
There are a few reasons why phishing tests are performed. Security Analysts run them to ensure users have been given enough proper training. A Pen Tester or Red Reamer may run them to gain credentials to prove what the potential impact of a company is from social engineering even just one person.
Whichever case, a good approach for setting up GoPhish is to spool up a Virtual Machine on a third party Cloud Hosting platform such as Azure, AWS or DigitalOcean rather than internally. This prevents suspicion from savvy users who notice internal addresses and links. It could easily blow your cover.
Prerequisites
- A debian-based Linux VM setup
sshis enabled with ansshkey pair- Firewall rules are open for inbound ports (recommend using
iptablesto restrict access to only your organization):- 22 TCP
- 80 or 443 TCP
- 3333 TCP (optional)
- SMTP email credentials
- Domain name (optional)
After setting up your VM and receiving a Public IP address, if you have a domain name you would like to use go to your Domain provider account, go to DNS and then add a new A record pointing to it.
| Name | Type | Data |
| @ | A | <IP Address> |
It is up to you if you want to use a sub domain per Campaign and matching the name of the service or landing page you are spoofing.
Creativity and Realism
Before we begin let’s talk about what exactly we will be doing with GoPhish. Instead of just explaining how to setup a GoPhish Campaign I want to get into the process of creating a Campaign that will set apart ourselves from the generic spam. Especially if you are doing a Pen Test or Red Teaming.
On one hand you, want an email and landing page convincing enough to get proof or to get yourself credentials (if permitted, obviously), on the other, you don’t want it to backfire on you.
Investigation
Put yourself on the user’s side. What would (almost) catch you? What would not make you second guess clicking that link or opening that attachment in an email?
Start by investigating:
- What internal tools are the company using?
- Which email clients are users running?
- What project management system are they using?
- Can you tell what stack their applications run on?
- What Anti-Virus software do they have?
Find something that can be believable to the person on the other end.
I strongly advise against ones that are only externally controlled such as Amazon order confirmations, Facebook password resets, Bank account records, etc. as this can backfire. Instead of a user reporting it to their IT team you risk them reporting it to the external company themselves. Next thing you know they’re investigating your GoPhish emails. Plus most users do not use their work email for those services.
That said, real services that are used in an organization stand a better chance of a user trusting it or otherwise thinking it is a mistake and sending it to IT. You wouldn’t find a user contacting McAfee themselves over an email regarding their corporate Anti Virus. (At least we hope not.)
Finding Our Bait
Pretend we have finished a recon for our Pen Test and let’s say we stumble upon a GitLab login page.
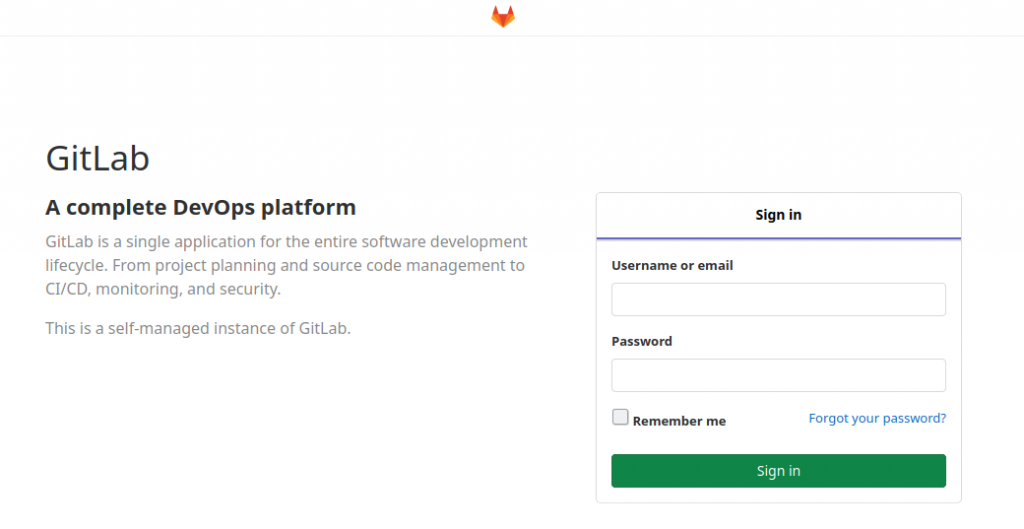
Great. This could be an opportunity to phish with a spoofed password reset email.
But let’s see if we can take this one step further. While searching online about GitLab, we stumble upon this Tweet:

Interesting.
This leads us to a more believable scenario. It inflicts urgency and pressure; a user will feel more inclined to change it right away overlooking any mistakes or inconsistencies. Plus maybe we will be lucky, maybe the users at the organization we are Pen Testing would have already heard about this.
Regardless, we can craft an email mentioning this vulnerability to see if we can get any bites.
Throughout this tutorial we will be targeting a made up GitLab environment. No real or existing organizations using GitLab are actually targeted, it is purely theoretical and designed for educational purposes only.
Now let’s get started.
Install
Login to the new VM via ssh.
Run updates, install unzip and certbot (optional):
sudo apt -y update
sudo apt -y install unzip certbot
TLS Certificates (Optional)
We can open port 80 on our server and run certbot to generate a Let’s Encrypt certificate for our domain.
sudo certbot certonly --standalone
<enter email>
<enter domain.com>
This will generate certificate and private key files at /etc/letsencrypt/live/<subdomain>.<domain>.com/ directory. When it is done close off port 80.
For more information about certbot visit here: https://certbot.eff.org/.
GoPhish
Download the zip file:
wget https://github.com/gophish/gophish/releases/download/v0.11.0/gophish-v0.11.0-linux-64bit.zipVerify the shasum (for this version it is 0.11.0):
echo "f33ac7695850132c04d190f83ef54732421a8d4578be1475d3a819fe6173c462 gophish-v0.11.0-linux-64bit.zip" | sha256sum -cUnzip the file and navigate to it:
sudo unzip gophish-v0.11.0-linux-64bit.zip -d /opt/gophish/ && /opt/gophishIf you want to be able to remotely access the admin portal through port 3333 then open up the config file:
sudo vi /opt/gophish/config.jsonUpdate the admin listener_url to 0.0.0.0.
"admin_server": {
                "listen_url": "0.0.0.0:3333",
                "use_tls": true,
                "cert_path": "gophish_admin.crt",
                "key_path": "gophish_admin.key"
        },
If you have setup Let’s Encrypt certificates, update the phish_server (changing the cert_path and key_path to the proper locations):
"phish_server": {
                "listen_url": "0.0.0.0:443",
                "use_tls": true,
                "cert_path": "fullchain.pem",
                "key_path": "privkey.pem"
        },
Save and exit with :wq.
Change script permissions and run:
chmod +x gophish
./gophish
Check the log output for this line to retrieve the one-time password:
time="2020-10-15T20:30:49Z" level=info msg="Please login with the username admin and the password <PASSWORD>"In the browser navigate to https://<serveripaddress>:3333/.
Alternatively you could use port forwarding by connecting to your VM with:
ssh <user>@<ipaddress> -L3333:localhost:3333 -NThen in your browser go to https://localhost:3333/.
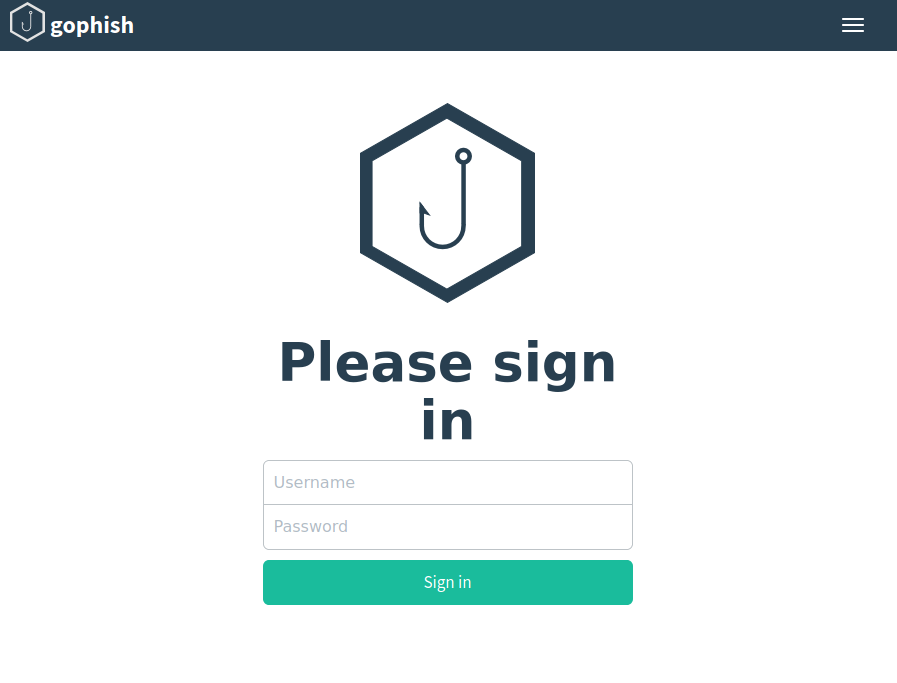
Sign in with admin and the password from the log output.
Once signed in you will be prompt to change your password.
You will want to setup an email or more specifically setup an SMTP account to authenticate against to spoof addresses from.
While this could technically be done from a Gmail or Yahoo account it is against their terms of use and I don’t recommend it. I have also seen some tutorials using Amazon SES. This is a coin toss on whether you will get approved to be released out of Sandbox mode but you could certainly give it a shot.
Another option is to setup a simple SMTP server yourself to just send outbound emails, leaving port 25 closed externally.
Sending Profile
Once we get an SMTP credentials we can go back to the GoPhish dashboard and on the left-side menu click on Sending Profiles, then click +New Profile.
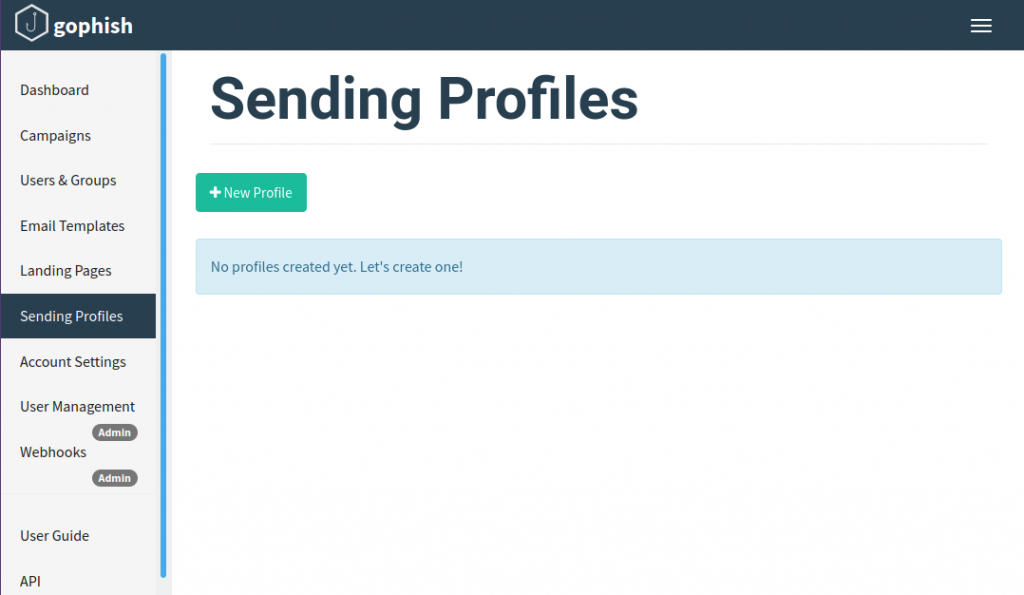
In the pop up modal we will enter our information:

- Name
- Interface Type: SMTP
- From: you can set this to what you like but it should be in the same domain as your SMTP credentials
- Host: use your mail server with : (
25is default unencrypted and456or587are the most popular ones for SMTPS/STARTTLS, I do recommend using encryption if you are using an outside server) - Username: your SMTP auth user
- Password: your SMTP auth password
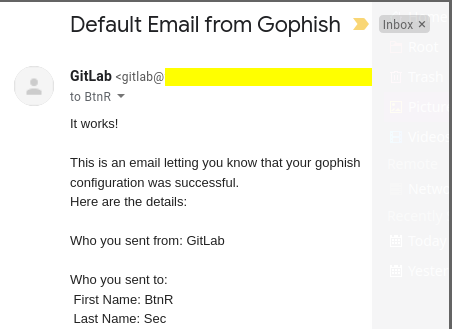
Click on Send Test Email.
Enter in:
- First Name
- Last Name
- Position (optional)
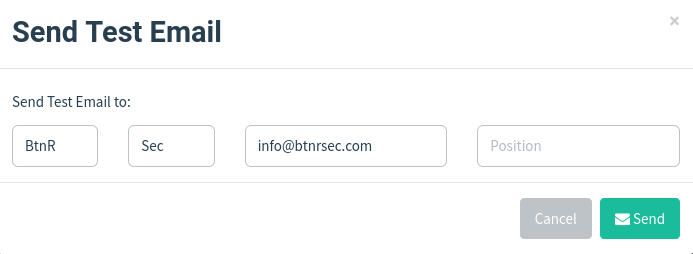
Click Send.
You should see a Success message. Close and click Save Profile.
Check your email for your test email to make sure it worked.
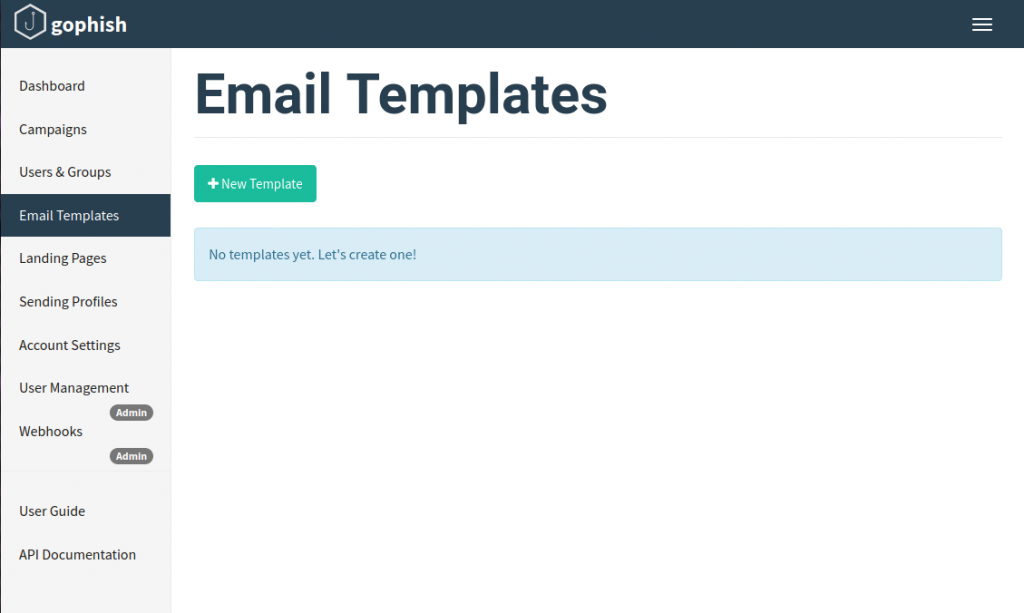
Email Templates
Next we will create the Email Template. This is what will get sent to the users. On the side left menu, click Email Templates then click +New Template.
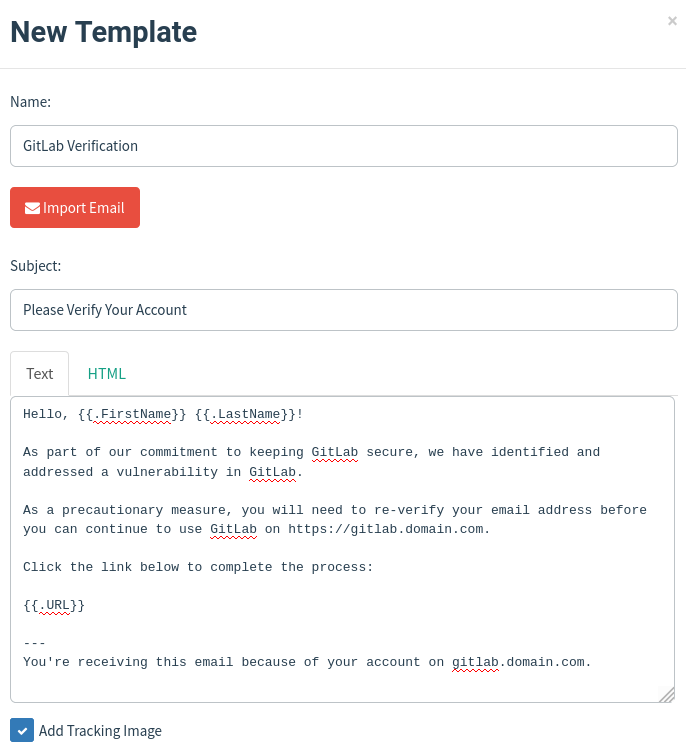
Here we will enter:
- Name: you can store multiple different ones so make sure you give it a name to distinguish them from each other.
- Subject
- Add Tracking Image: toggle on to track if the email was opened. Depending on the email client and settings this may be blocked.
- Body: this can be done in plain text or with HTML. Optionally you can also click Import Email.
We can make the content dynamic using GoPhish’s variables so that we can send to multiple users and groups at the same time. The variables are wrapped in {{}} and are case sensitive.
You can see a full list here: https://docs.getgophish.com/user-guide/template-reference.
Later, when we create a Campaign it will generate a random ID to assign at the end of the base URL path, we can just use {{.URL}} and it will automatically map the link to it.
Replication
The realism of the email can take some more research depending on what service you are trying to imitate. I would start with plain text and get familiar with the process. Test the Campaign against yourself and build from there.
But I am not happy with just plain text. I wondered, what exactly does their email template look like? It is so easy to setup a Community edition of GitLab so I did exactly that. I created a VM, installed GitLab, setup SMTP and tested the password reset.
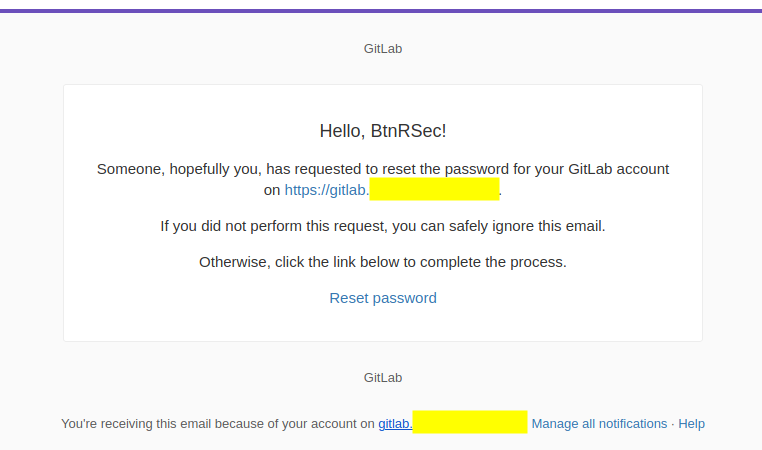
This is perfect. It gives us structure and styles. With this, we can copy+paste the HTML or Import Email.
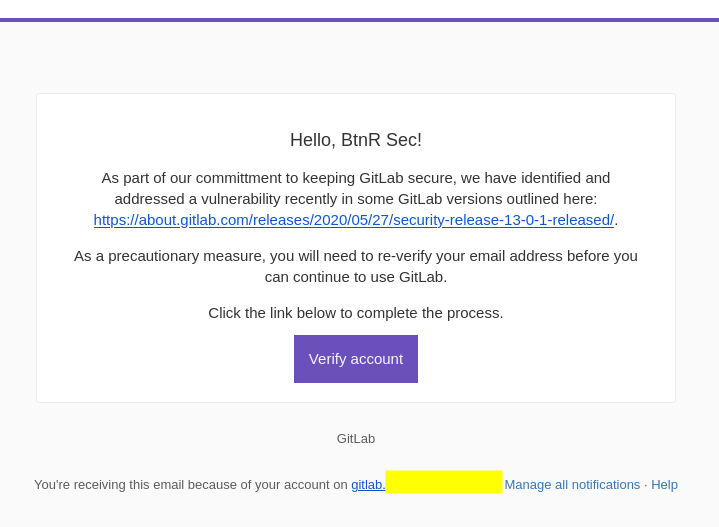
Once in the email body, we can change the text to whatever we want. In this case I updated the link to a button making it the same purple as the header bar. I personally felt it stood out more that way.
To take advantage of the vulnerability we could even link to a bulletin report about it.
Here is the plain text body:
Hello, {{.FirstName}} {{.LastName}}!

As part of our commitment to keeping GitLab secure, we have identified and addressed a vulnerability recently in some GitLab versions outlined here: https://about.gitlab.com/releases/2020/05/27/security-release-13-0-1-released/.

As a precautionary measure, you will need to re-verify your email address before you can continue to use GitLab.

Click the link below to complete the process.

{{.URL}}
Click Save Template.
Landing Pages
After we are satisfied with our Email Templates we can next setup our Landing Pages. This will be the page that the user goes to when they click on the {{.URL}} in our email.
Click Landing Pages then click +New Page.
This one is even easier since we have already stumbled onto the login page itself.
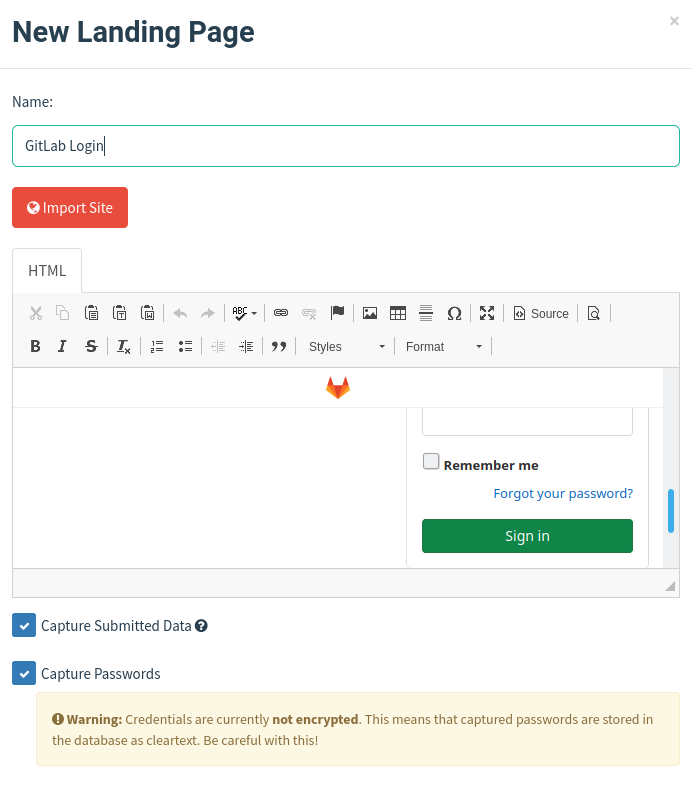
We will enter:
- Name: again, multiple ones can be made so make this something specific.
- Body: we can import site or copy+paste our HTML.
- Capture Submitted Data: toggle on so we can know which users attempted to enter their data
- Capture Password: use with caution as they are stored in plain text.
However, be aware that importing sites will generate GET requests on the server that will show coming your GoPhish web server.
If we are worried about showing up on the server’s logs, we could take the HTML from the self created GitLab environment made earlier.
If you want to make any changes to the import you can click the Source button. When you are finished, click Save Page.
Users & Groups
In this section we can organize all of our users and group them accordingly.
Click Users & Groups and click +New Group.
Enter:
- Name: I tend to make multiple small groups random users but you could also organize by department or by organization.
- +Bulk Import Users: you can import a csv if you have multiple
- First Name
- Last Name
- Position: this is also a variable so you will need to fill it in if you do end up using it.
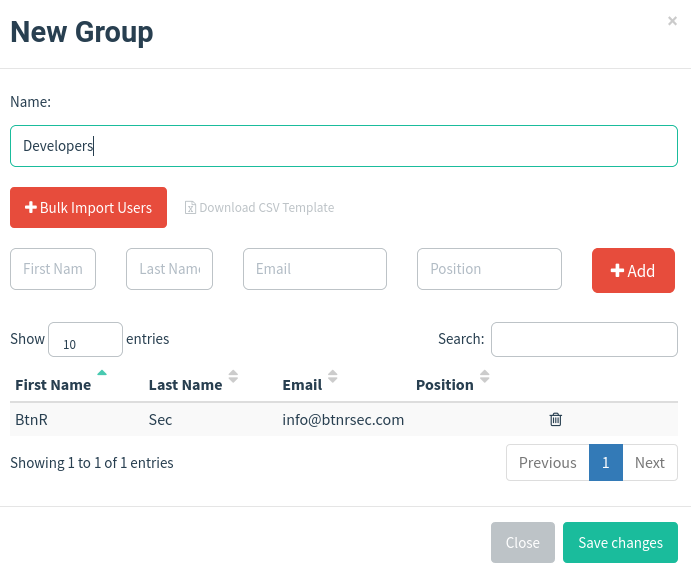
I always add myself in a single group so that I can test Campaigns properly. Unfortunately there isn’t a real way to show the Email Template or Landing Pages otherwise.
When finished click Save changes.
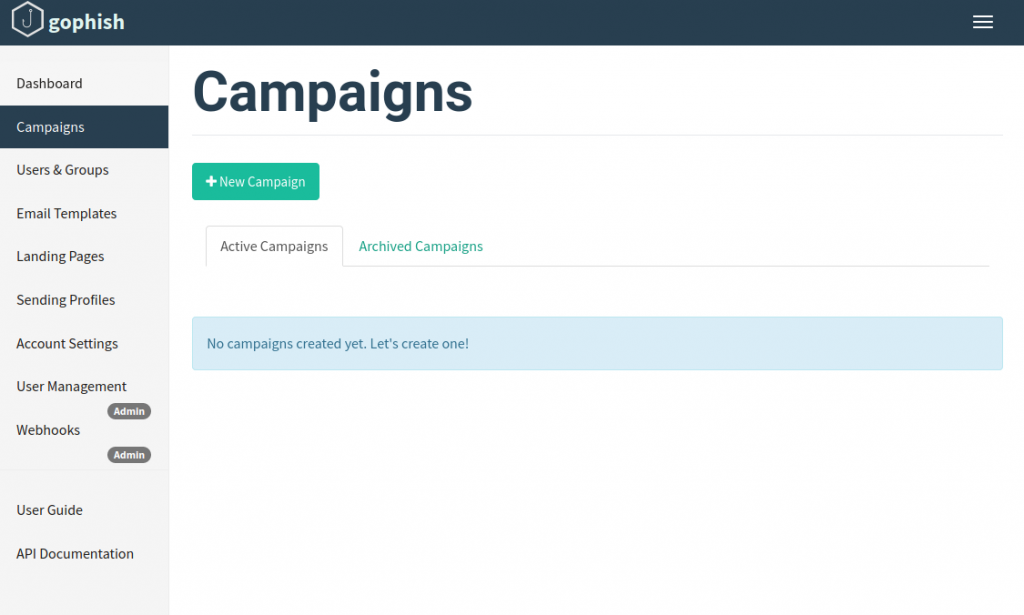
Campaigns
Now we can do a test launch against ourselves. Click Campaigns then click +New Campaign.
We will enter:
- Name
- Email Template
- Landing Page
- URL: use the GoPhish listener (the
phish_serverbaselisten_url. If you setup Let’s Encrypt certificates start withhttps://) - Launch Date: you can choose to make it launch immediately or set a specific time
- Send Emails By (Optional): you can also choose an end date and it will stagger from the Launch Date.
- Sending Profile
- Groups
When everything looks good, click Launch Campaign.
It will prompt for verification, click Launch.
Check your email and take a look.
We can test the landing page by clicking our generated link.
This will direct us to an identical login page as our target. We can make sure our form works by putting in some dummy data.
If you have setup the phish server to run on http, depending on your browser, you can see when you click on a form field that it warns us the site is not secure.
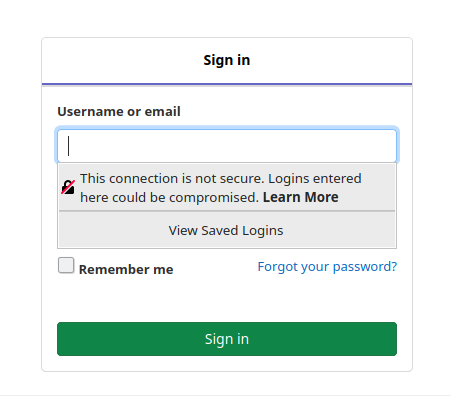
This could deter users from entering data.
If you have set it up with https certificates that are not self signed, the user won’t get any suspicious pop ups or messages about security. This is the best and most preferred option.
Dashboard
Back at our GoPhish admin panel, click on Dashboard. This will show the status for all Campaigns launched.
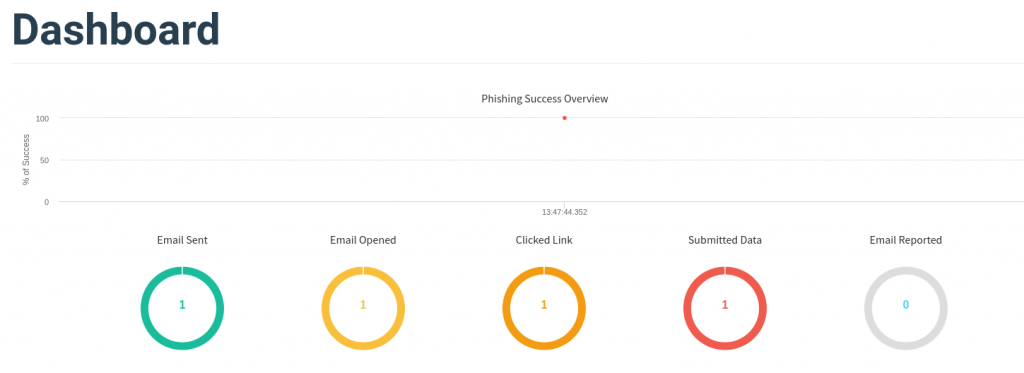
Under Recent Campaigns, at the far right click the graph icon to View Results. This will break down per Campaign.
The Details lists a table of each user that the Campaign sent to. Expanding the user shows the timestamp and order of each action of the user.
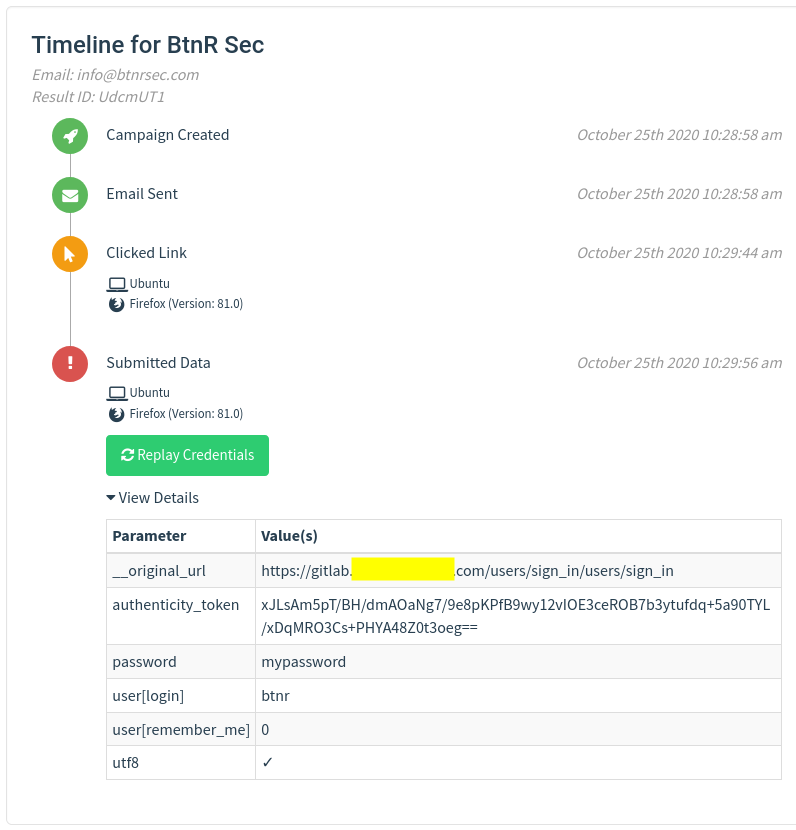
Expand View Details to show the user data submitted. If we have toggled on Capture Passwords, we can see it clear in plain text in the parameter table.
After everything is setup and working properly we now have what we need for our live Campaign launch.